LFGA Web
Week 9 - What I learned
This a new start, a new phase here in the academy this is called the open-source phase. Let's talk about the goals first and how I'm going to go over a lot of things because, once again, I don't know how to do everything that I have to do. Just like in other phases let's break big problems into little problems and try to solve them one at a time.
Overview of the goals of the month
I'm just going to write a summary of the goals, I'll go more in detail in the monthly journal, I just want to keep track of what I'm doing, I want to tell you a story. Let's get to it! these are some goals of the phase:
- Learn Open-source culture
- Get more experience in a tech stack
- Collaborate in at least two open-source projects
- At least four valid contributions or PR submitted
As you can see I have to submit at least four valid contributions, I don't know how I'm going to do this, but I don't have time to feel bad or another similar thing... Let's go dive into it right now!.
Now I'm going to break things down here. I'm going to have two sections, In one section I'm going to write down the activities or things that I learn during the week regarding the open-source project, and in the other section I'm going to be talking about new technical stuff that I learned.
Open-source
First of all, to collaborate on an open-source project first I need to know what is open-source, so let's get to it!.
What is open source?
From here: What is open source?
"Open source is a term that originally referred to open source software (OSS). Open source software is code that is designed to be publicly accessible—anyone can see, modify, and distribute the code as they see fit."
This means that I can collaborate in any open-source project because the source code is open and anyone can see it and add features or enhancements to it. Open-source software also has a license which means that anybody can come to take the code modify it and even re-distribute it.
Now I need to know how to contribute to Open Source
How to Contribute to Open Source
We can find a really good article How to Contribute to Open Source
What does it mean to contribute?
We can do a lot of things for a project, not everything has to be code, if we other skills we can still add value to a project. We can add design, organization, documentation, and other things that aren't code.
But for now, we can actually work on code. In this part, we could, find an issue and tackle it, work on a new feature, automate project setup or Improve tooling and testing.
Anatomy of an open-source project
A project also has documentation. These files are usually listed at the top level of a repository.
- LICENSE: By definition, every open source project must have an open-source license. If the project does not have a license, it is not open source.
- README: The README is the instruction manual that welcomes new community members to the project. It explains why the project is useful and how to get started.
- CONTRIBUTING: Whereas READMEs help people use the project, contributing docs help people contribute to the project. It explains what types of contributions are needed and how the process works. While not every project has a CONTRIBUTING file, its presence signals that this is a welcoming project to contribute to.
- CODE_OF_CONDUCT: The code of conduct sets ground rules for participants’ behavior associated and helps to facilitate a friendly, welcoming environment. While not every project has a CODE_OF_CONDUCT file, its presence signals that this is a welcoming project to contribute to.
- Other documentation: There might be additional documentation, such as tutorials, walkthroughs, or governance policies, especially on bigger projects.
Finding a project to contribute to
We could choose some projects that we already use and we know that have issues or things that could be improved. But we have to be sure that is a good project to work on. We have to check how many contributions have per week if it accepts contributions, the number of issues or PR to check if is an active project.
How to submit a contribution
- Give context. Try to explain what is happening
- Do your homework beforehand. Don't just go and ask, try to understand what is happening.
- Keep requests short and direct. Don't tell your life's story.
- Keep all communication public.
- It’s okay to ask questions
- Respect community decisions
Gathering context
Before doing anything, do a quick check to make sure your idea hasn’t been discussed elsewhere. I think we all should do that because we need to know what is happening before really doing anything.
Now we are ready to go over an issue or enhancement.
To do a pull request we need to:
- Fork the repository and clone it locally.
- Create a branch for your edits.
- Reference any relevant issues or supporting documentation in your PR.
- Include screenshots of the before and after if your changes include differences in HTML/CSS.
- Test your changes!
- Contribute to the style of the project to the best of your abilities.
- Then make the PR.
What happens after you submit a contribution
Could happen 4 things:
- You don’t get a response.
- Someone requests changes to your contribution.
- Your contribution doesn’t get accepted.
- Your contribution gets accepted.
But any way you really did it!
Now we have a clearer idea of how to do it. Let's choose a project and try to get context.
Project 1
Vulnerable app
I liked this project because it's like a playground for developers or people interest in security and the app is coded to be vulnerable and is also part of OWASP that's why I liked it.
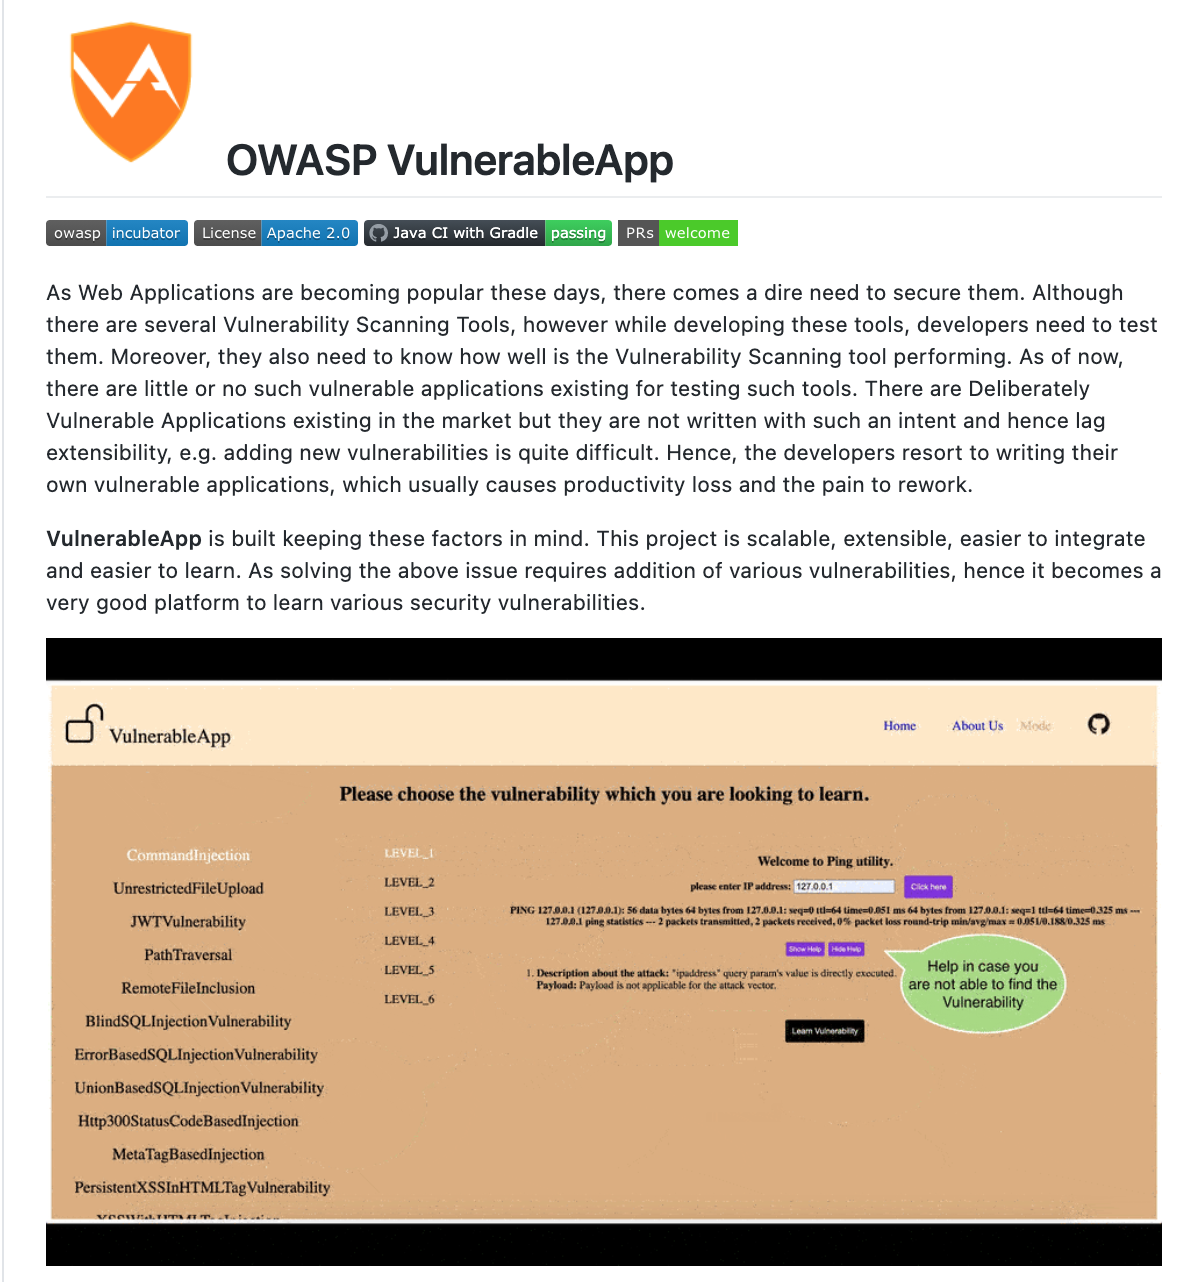
It's a web app that is using Java, HTML, JS, and CSS. The interesting thing here is to research how to code vulnerable code, how the vulnerability works, and the important thing here is that we have to find a use case for each vulnerability.
Project 2
DefectDojo
I also like this project is also from OWASP and is a security program and vulnerability management tool. I like these security-oriented projects and this one is also great because of the things that it works for.
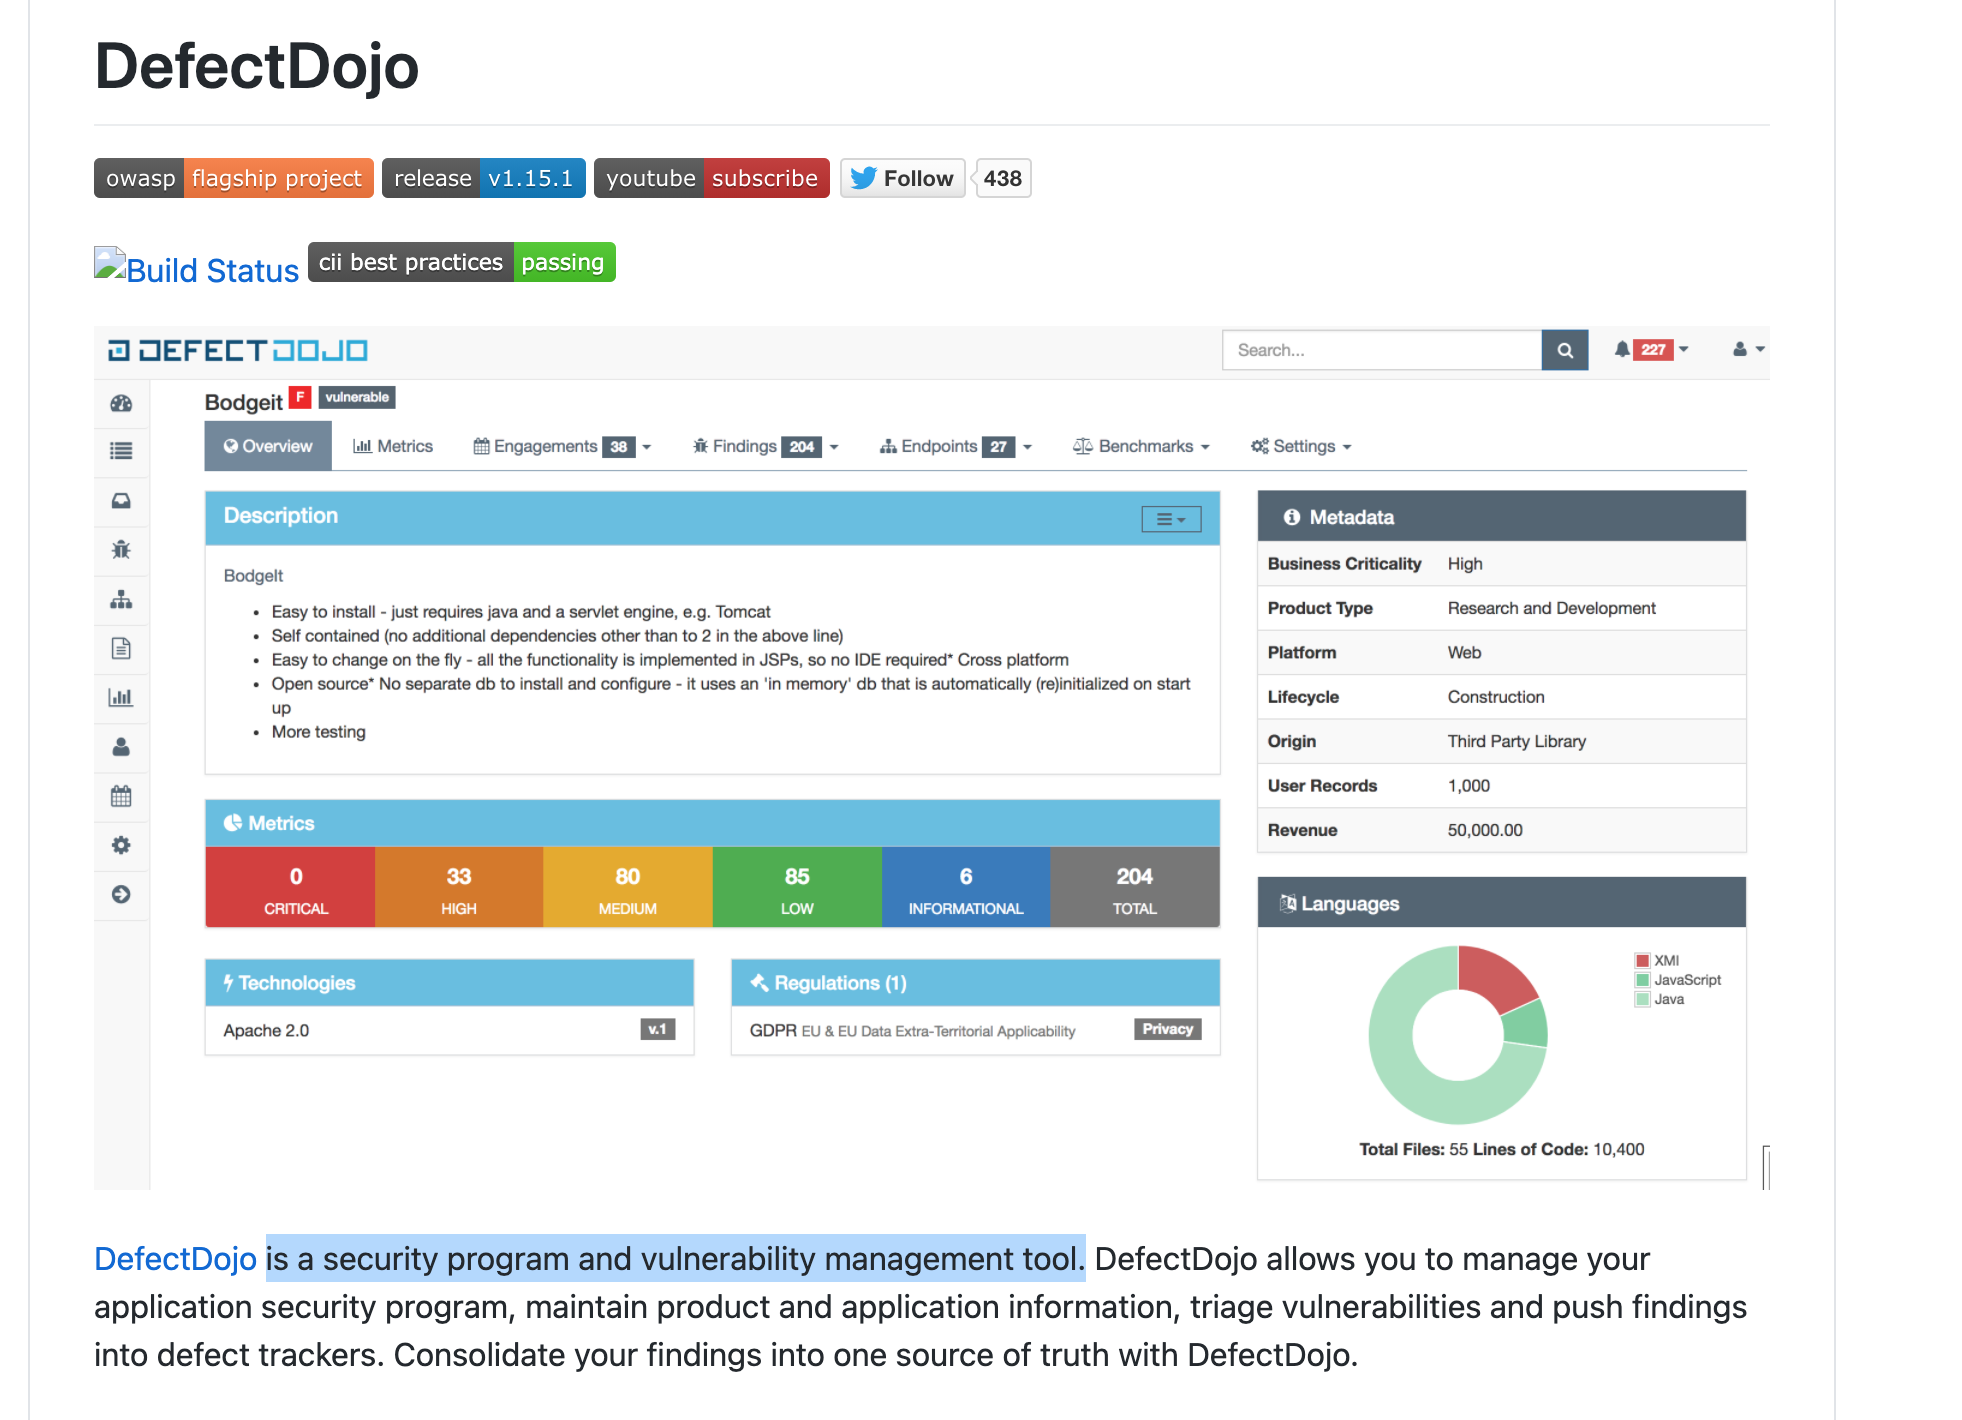
The challenge here is to learn how to use docker and Django, which is also kind of research to do it.
Technichal new stuff
Testing concepts
This week I'm going to be working on unit testing on the software project that I did in the last phase so let's read and try to understand some new concepts about unit testing and JUnit.
A software test is a piece of software, which executes another piece of software asserting that it behaves in a certain way.
With software tests you ensure that certain parts of our software work as expected. These tests are typically executed automatically via the build system and therefore help the developer to avoid breaking existing code during development activities.
Unit testing:
- A unit test is a piece of code written by a developer that executes a specific functionality in the code to be tested and asserts a certain behavior or state.
- The percentage of code which is tested by unit tests is typically called test coverage.
- A unit test targets a small unit of code, e.g., a method or a class.
- External dependencies should be removed from unit tests, e.g., by replacing the dependency with a test implementation or a (mock) object created by a test framework.
Integration tests:
- An integration test aims to test the behavior of a component or the integration between a set of components.
- The term functional test is sometimes used as synonym for integration test. Integration tests check that the whole system works as intended, therefore they are reducing the need for intensive manual tests.
- These kinds of tests allow you to translate your user stories into a test suite.
JUnit
JUnit is a Java test framework and an open source project hosted at Github. JUnit 5 (also known as Jupiter) is the latest major release of JUnit. It consists of a number of discrete components:
- JUnit Platform - foundation layer which enables different testing frameworks to be launched on the JVM
- Junit Jupiter - is the JUnit 5 test framework which is launched by the JUnit Platform
- JUnit Vintage - legacy TestEngine which runs older tests
How to define a test in JUnit?
- A JUnit test is a method contained in a class which is only used for testing. This is called a Test class. To define that a certain method is a test method, annotate it with the @Test annotation.
- This method executes the code under test. You use an assert method, provided by JUnit or another assert framework, to check an expected result versus the actual result. These calls are typically called asserts or assert statements.
- Assert statements typically allow to define messages which are shown if the test fails.
- A widely-used solution for classes is to use the Test suffix at the end of test classes names.
- As a general rule, a method name for a name should explain what the test does.
- One possible convention is to use the "should" in the test method name. (menuShouldGetActive)
- Another approach is to use given[ExplainYourInput]When[WhatIsDone]Then[ExpectedResult] for the display name of the test method.
Important JUnit annotations

Source: JUnit
How to structure a unit test: the Arrange-Act-Assert pattern
The 3A pattern is simple and provides a uniform structure for all tests in the suite. This uniform structure is one of its biggest advantages: once you get used to this pattern, you can read and understand the tests more easily. That, in turn, reduces the maintenance cost for your entire test suite.
- The arrange section is where you set up the objects to be tested. You bring the system under test to a desired state and configure the dependencies: either instantiate them directly or prepare their test doubles.
- The act section is where you act upon the system under test. You call one of its methods: pass the dependencies and capture the output value if any.
- The assert section allows you to make the claims about the outcome. This may include the return value, the final state of the SUT and its collaborators, or the methods the SUT called on them.
Source: Making Better Unit Tests: part 1, the AAA pattern
We will keep learning about unit testing, but for now I need to read about mockito for my practical section
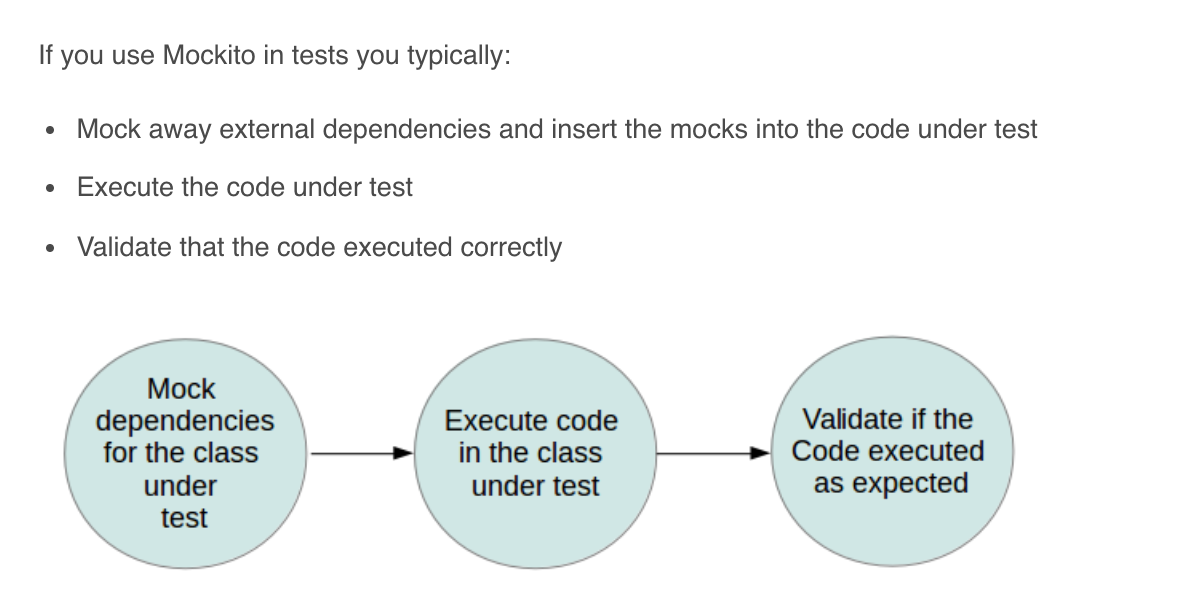
Unit tests with Mockito
Mock objects
- In your unit tests, you want to test certain functionality (the class under test) in isolation. Other functionality required to test the class under test, should be controlled to avoid side-effects.
- A mock object is a dummy implementation for an interface or a class. It allows to define the output of certain method calls. They typically record the interaction with the system and tests can validate that.
- Mock frameworks allow you to create mock objects at runtime and define their behavior.
- The classical example for a mock object is a data provider. In production an implementation to connect to the real data source is used. But for testing a mock object simulates the data source and ensures that the test conditions are always the same.
- Mocking or mock frameworks allows testing the expected interaction with the mock object. You can, for example, validate that only certain methods have been called on the mock object.
Using Mockito for mocking objects
- Mockito allows you to create and configure mock objects.
- Using Mockito greatly simplifies the development of tests for classes with external dependencies.
Configuring mocks
Using when().thenReturn() and when().thenThrow()
- Mocks can return different values depending on arguments passed into a method.
- The when(….).thenReturn(….) method chain is used to specify a return value for a method call with pre-defined parameters.
- The thenReturn() methods lets you define the return value when a particular method of the mocked object is been called.

Verify the calls on the mock objects
- Mockito keeps track of all the method calls and their parameters to the mock object.
- You can use the verify() method on the mock object to verify that the specified conditions are met.
- You can verify that a method has been called with certain parameters. This kind of testing is sometimes called behavior testing.
- Behavior testing does not check the result of a method call, but it checks that a method is called with the right parameters.
- verifyNoMoreInteractions(Object) also verifies that all stubbed methods have been called during the test
Practical example
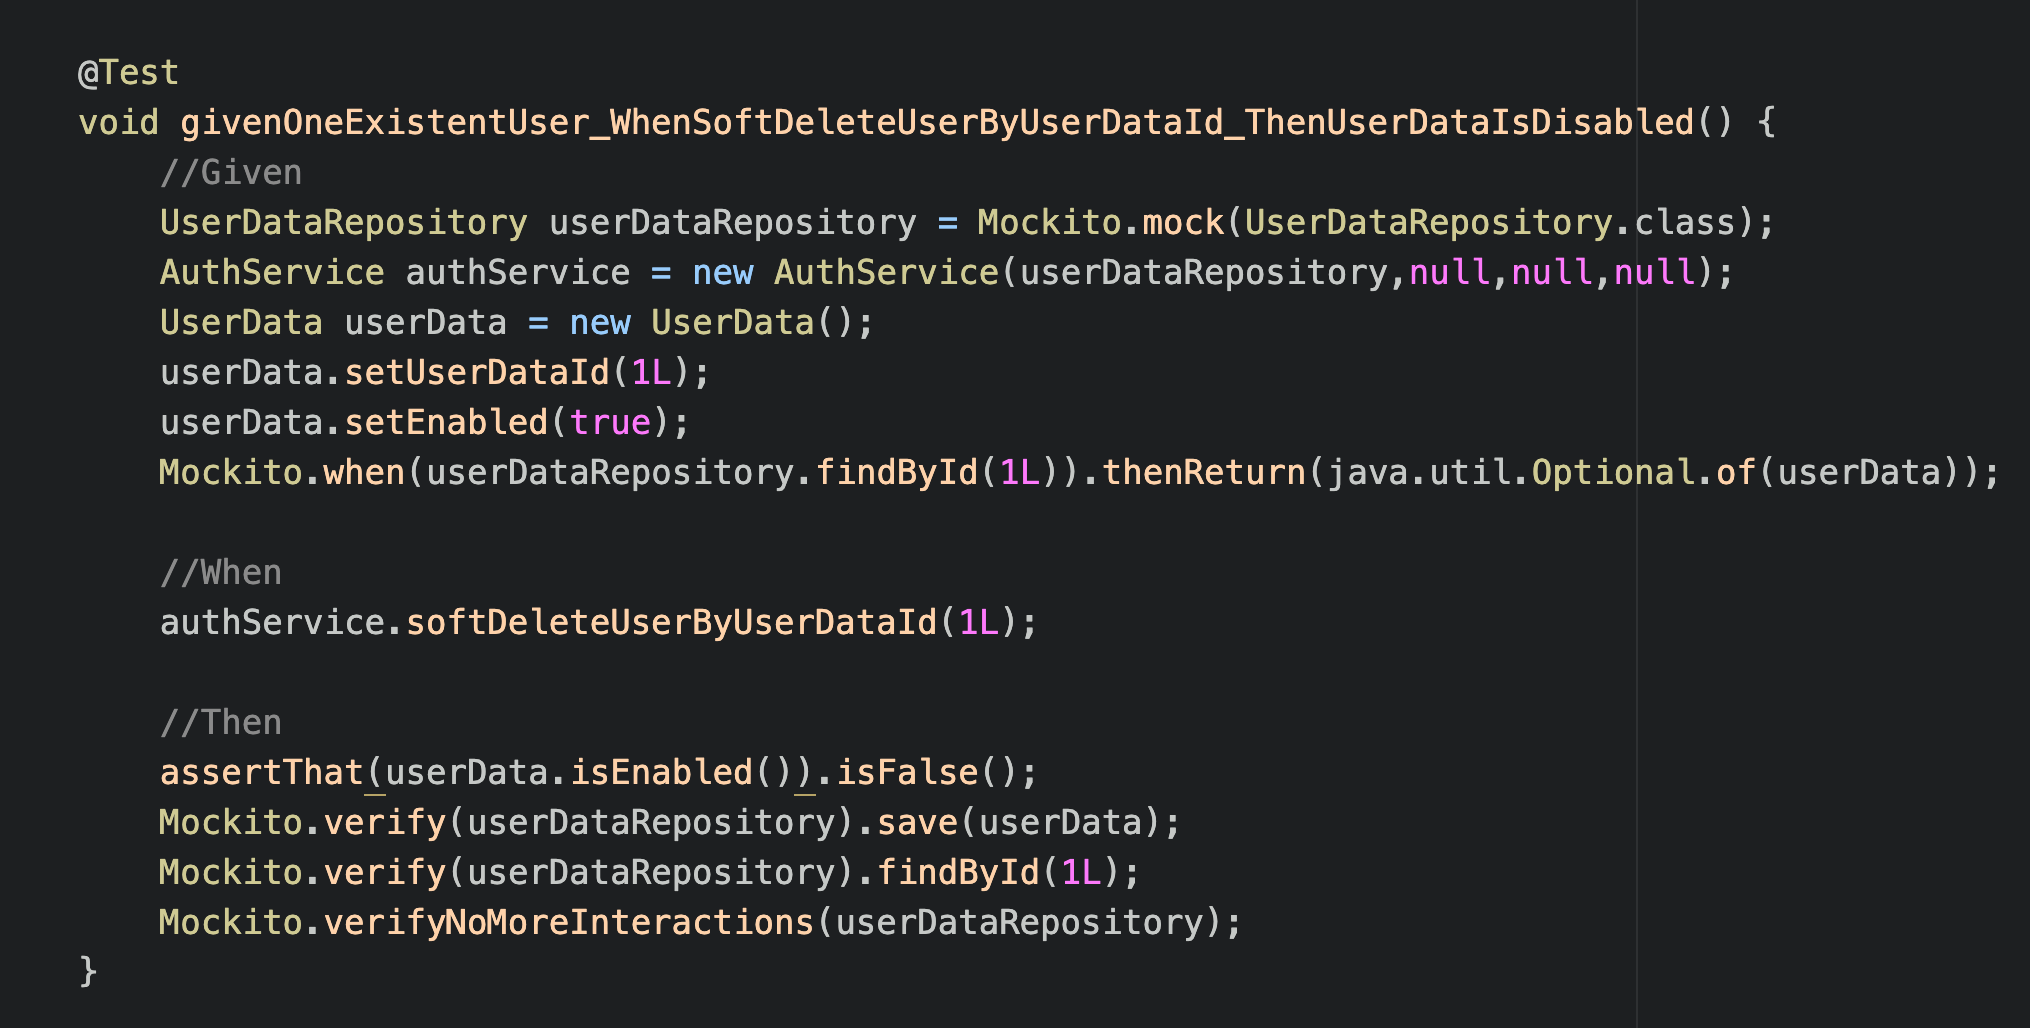
I'm working on unit testing of one of my previous projects. Once again thanks to my mentors for helping me out with this, I'm learning a lot. Let's go through this piece of code that I did.
- First of all, I want you to notice the name of the method and the annotation. The annotation defines that as a test method. The name is the given[ExplainYourInput]When[WhatIsDone]Then[ExpectedResult] approach this gives a clear idea of what the method is going to test.
- The second thing to note is the 3A pattern structure first we define the given or the arrange section where we define objects to be tested and some dependencies for the test. The when is the act section is where we execute the actual method. The assert section allows you to make the claims about the outcome or we compare the results or what we expect.
- The first section is where we mock the repositories because we want to isolate that part. Here we use mockito to do that.
- In the last section where we verify any changes in the data and we also verify the interactions, the method calls in this object. We are doing a behavior test. Mockito also helps us with this part.